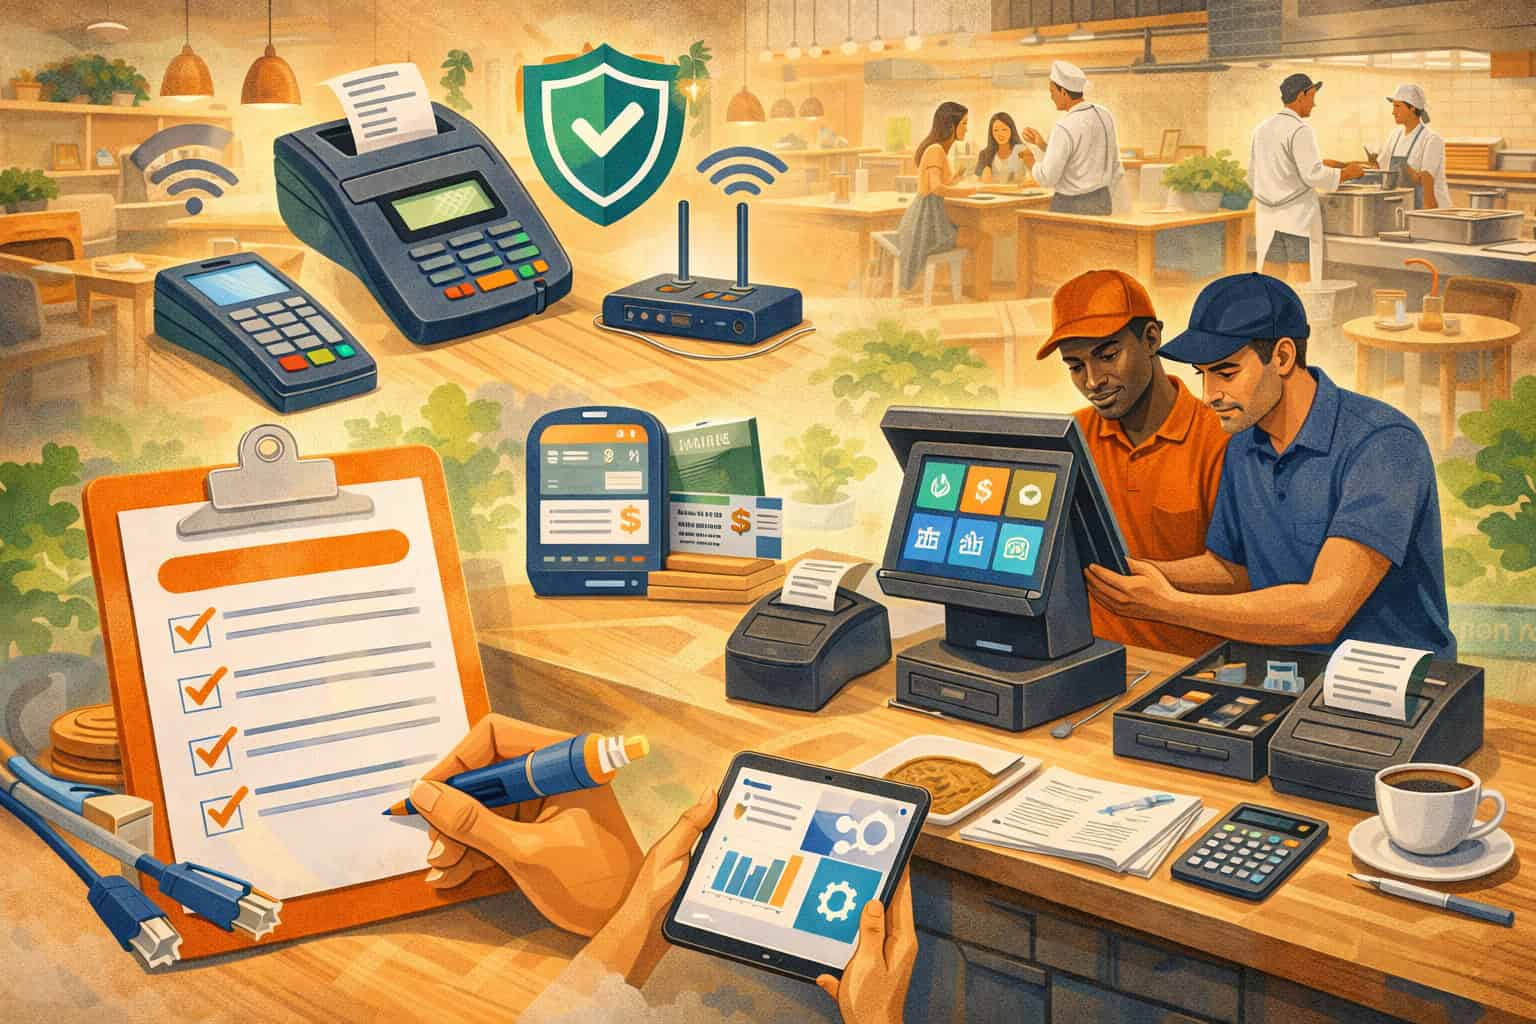
Opening day rarely fails because the food is bad. It fails because service is slow, tickets get lost, staff can’t find buttons, payments stall, or the kitchen and front-of-house stop talking.
A POS setup checklist for new restaurants keeps you out of that spiral by turning “we’ll figure it out” into a repeatable system: stable hardware, reliable network, clean menu mapping, smart permissions, integrated ordering, and clear reporting.
This guide is written as a restaurant POS setup checklist you can follow from planning to launch. Each section includes what to do, why it matters, and what to watch for as restaurant tech evolves through 2026 and beyond—especially around security standards and guest expectations like contactless payments and self-service options.
Define your service model and map the POS setup checklist to real workflows

Before you buy terminals or build menus, lock in how guests will order, how food will be produced, and how payments will be taken. The most common mistake in a POS setup checklist for new restaurants is choosing a system based on features rather than workflows.
Your POS is not just a register; it’s the operating system for order flow, kitchen pacing, labor controls, and revenue capture.
Start by documenting your service model in plain language: counter-service, full-service, fast casual, bar-forward, delivery-heavy, catering-first, or hybrid. Then map a “ticket life cycle” from order to payment to fulfillment to refund.
Identify every handoff: host stand to server, server to kitchen, kitchen to runner, runner to guest, guest back to cashier for split checks, and manager for comps. If you don’t map these steps, you’ll build screens that look good in training but collapse during a rush.
Next, define peak scenarios. What happens during a lunch line, a sports night, or a private event? Your restaurant POS setup checklist should include speed requirements (how many taps to ring an item), staffing needs (who can open tabs), and contingency plans (offline mode, paper tickets, spare reader).
Vendor blogs and install checklists consistently point to “workflow planning first” as the difference between smooth installs and chaotic go-lives.
Finally, confirm your business rules early: tipping model, service charges, delivery fees, discounts, loyalty, refunds, and tax handling by category. If these rules are unclear, you’ll rebuild menus and permissions later—right when you should be training.
Create a station plan that matches guest traffic, not your floor plan
A practical POS setup checklist for new restaurants treats “where will the POS live?” as an operational decision, not décor. Design stations based on guest traffic and staff motion. Your goal is to reduce steps and reduce bottlenecks.
For counter service, the line should flow toward a cashier station with a secondary station for overflow or troubleshooting. For table service, tableside ordering or a server station near the dining room reduces server walk time. For bar service, dedicate a bar POS and printers/KDS routes that keep bar tickets from clogging kitchen queues.
Count how many orders you’ll take per minute at peak, then assign terminals and handhelds accordingly. A single terminal might be fine at 10–15 transactions per hour, but it becomes a choke point when online orders spike or when guests split checks. Build redundancy: at least one backup payment device, a spare tablet, and a fallback printing route if a kitchen printer fails.
As 2025–2026 trends continue pushing kiosks, QR ordering, and tableside payment, the station plan becomes more distributed. Hospitality tech trend reports and POS vendor surveys highlight growing demand for automation and flexible ordering touchpoints, which makes station planning even more important at setup time.
Choose the right POS architecture and vendor support for your restaurant POS setup checklist
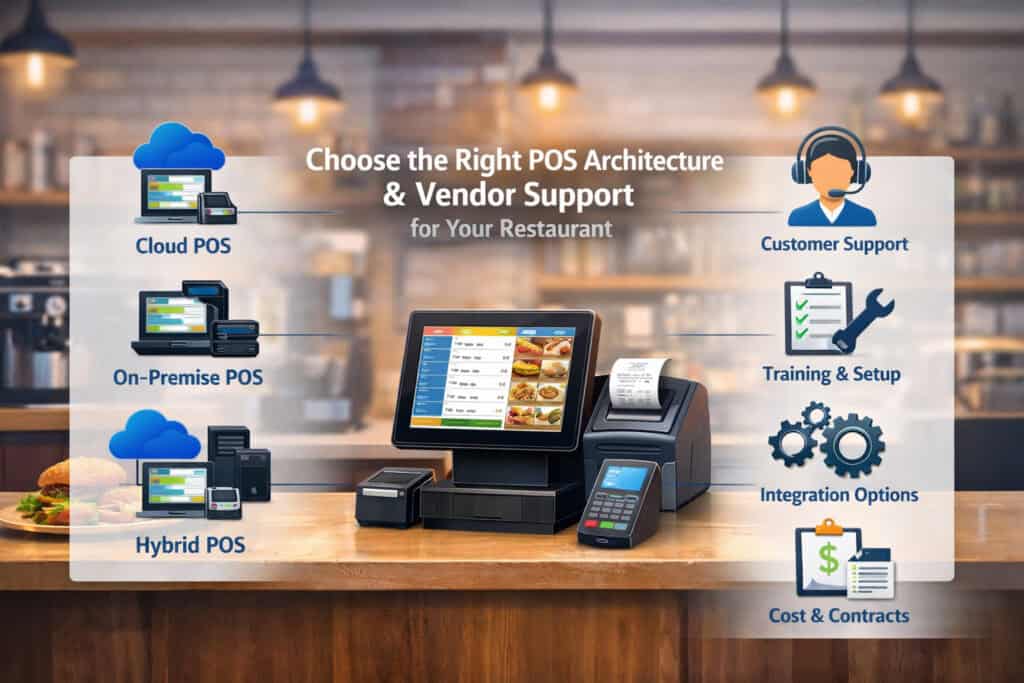
A restaurant POS setup checklist must include a decision on architecture: cloud-first, hybrid, or on-prem. Cloud-first systems simplify updates, remote menu changes, multi-location reporting, and integrations.
Hybrid models may offer stronger offline resilience. On-prem can work for highly controlled environments but often increases maintenance burden and limits integration flexibility.
When evaluating options, focus on five non-negotiables: reliability, offline behavior, integration ecosystem, payment acceptance range, and support quality. Many restaurants buy a POS and discover later that delivery integration is clunky, modifiers don’t behave correctly, or reports don’t reconcile by payment type.
A POS setup checklist for new restaurants should require a demo using your real menu structure (combos, half-and-half, cooking temps, substitutions) and your real service flow (split checks, bar tabs, coursing, voids).
Also verify the vendor’s implementation process: onboarding timeline, menu build assistance, on-site install options, training resources, and escalation procedures.
“Support” isn’t just phone availability; it’s whether they can restore you during a Friday rush. Restaurant install guides emphasize preparing for install day with clear roles, inventory of devices, and integration validation.
Finally, consider future-readiness. POS trends moving through 2025 include AI-driven insights, contactless-first payments, and tighter integration between ordering channels and kitchen operations. Even if you don’t adopt every feature at launch, you want a platform that won’t force a rip-and-replace in 18 months.
Use a feature scorecard built around “day-one” and “day-90” requirements
Your POS setup checklist for new restaurants gets stronger when you split requirements into two buckets: what must work on day one, and what you want by day 90 after operations stabilize.
Day-one essentials usually include:
- Fast item entry and modifiers that match your kitchen reality
- Stable payments (chip, tap, mobile wallets)
- Clear ticket routing (kitchen/bar) with redundancy
- Employee logins and permissions
- Basic reporting (sales, taxes, tips, payment types)
- Simple refunds/voids with manager approval
Day-90 priorities often include:
- Online ordering + delivery integration with menu sync
- Loyalty, gift cards, SMS/email marketing
- Inventory and purchasing automation
- Labor forecasting and scheduling integration
- Advanced analytics for menu engineering and comps
This approach prevents overbuying and helps you implement in phases. Trend pieces and vendor surveys note that operators increasingly choose POS platforms based on data and automation potential, but successful rollouts still start with day-one fundamentals.
Hardware and peripherals: build the physical foundation of the POS setup checklist for new restaurants
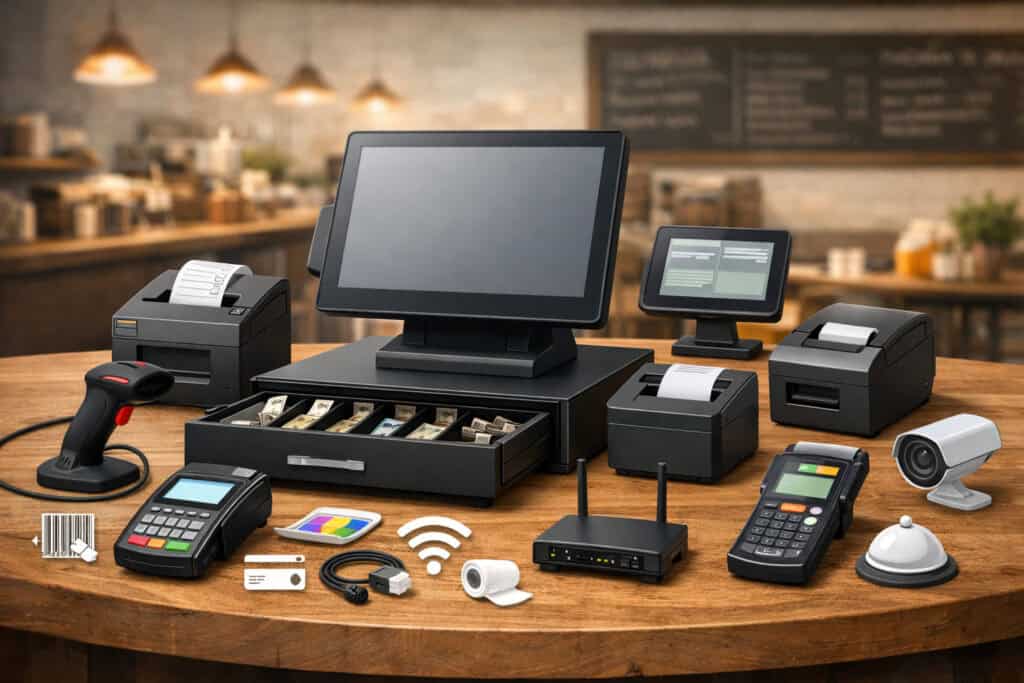
Hardware is where a restaurant POS setup checklist becomes real. Your goal is durability, speed, and redundancy—without clutter.
The ideal hardware list depends on service style, but most restaurants need some combination of terminals or tablets, cash drawers (if you accept cash), receipt printers, kitchen printers or a KDS, card readers, barcode scanners (for retail/café), handheld devices, and networking gear.
Prioritize commercial-grade equipment. Consumer tablets can work in low-volume settings, but restaurants are rough environments: heat, grease, spills, drops, and constant use. Mounts matter. Cable management matters. A loose power connection can look like “the POS froze” when it’s really a failing outlet or unstable power strip.
Your POS setup checklist for new restaurants should also cover physical placement: screens visible to staff but not blocking guest flow, printers accessible for paper swaps, and readers positioned for comfortable tapping or inserting cards.
If you plan to take payments at the table, choose handhelds or tableside readers that support both chip and tap and that can survive drops.
Also plan for backups. A spare reader and spare printer are cheap compared to downtime. Restaurant setup checklists commonly recommend backup hardware and routine maintenance to avoid service disruption.
Calibrate kitchen routing early: printers vs KDS, expo screens, and timing discipline
Kitchen communication is where many launches fail. A POS setup checklist for new restaurants must include a decision on kitchen printers versus KDS (kitchen display systems). Printers are simple and familiar, but paper tickets can get lost, and re-fires create confusion.
KDS improves visibility, timing, and order prioritization, especially when integrated tightly with the POS and ordering channels.
If you use printers, define printer roles: hot line, cold line, dessert, bar, expo. Configure prep stations so each station gets only what it needs. If you use a KDS, define screen views: by station, by course, by pickup time, and by order source (dine-in vs pickup vs delivery).
KDS/POS integration is often credited with reducing lag between order entry and kitchen awareness, improving speed of service and reducing waste.
No matter the method, you need timing rules. Decide when a ticket “fires,” how holds are handled, and how staff marks items complete. Build an expo process that matches your concept.
This is not optional—kitchen routing is the backbone of your restaurant POS setup checklist because it directly impacts ticket times, guest satisfaction, and comp rates.
Network, security, and compliance: the “silent” section of every restaurant POS setup checklist

Restaurants often treat networking as an afterthought—until the first outage. A POS setup checklist for new restaurants should treat network and security as core infrastructure. That includes stable internet, strong Wi-Fi coverage, a properly configured router/firewall, segmented networks, and a plan for updates and monitoring.
At minimum, separate your guest Wi-Fi from business traffic. Ideally, also separate POS traffic from other devices (office computers, cameras, music systems). Segmenting reduces congestion and lowers risk.
Use business-grade access points, not a single consumer router. Run a site survey if your space is large or has signal blockers like metal and brick.
Security isn’t just about hackers; it’s about preventing downtime and reducing fraud exposure. Payment security standards have evolved, and by 2026 the expectation is that merchants are aligned with the latest PCI DSS requirements rather than relying on older versions. PCI resources emphasize ongoing security controls and documentation, not a one-time checkbox.
Also protect access: strong passwords, unique logins, least-privilege permissions, and a process for offboarding employees immediately. Many incidents aren’t “breaches” in the dramatic sense—they’re misuse of access and weak processes.
Prepare for PCI DSS 4.0 realities: scripts, integrations, and accountability
If your restaurant uses online ordering, pay-at-table, or payment links, your exposure can include not just devices but also web and app components.
PCI DSS 4.0 introduced updated expectations and timelines, with sources noting that version 4.0 becomes mandatory after transition dates, pushing merchants to modernize controls by 2025 and beyond.
What does that mean in a restaurant POS setup checklist?
- Maintain an inventory of payment-related systems and integrations.
- Ensure updates are applied consistently (POS app, operating system, routers).
- Limit who can change payment settings, add integrations, or install apps.
- Document third-party providers involved in processing and ordering.
- Monitor for unusual behavior and ensure staff know how to escalate issues.
As ordering becomes more omnichannel—QR, kiosks, delivery marketplaces—your POS becomes a hub connected to many services. The more connections you have, the more you need disciplined change control.
PCI-focused commentary highlights newer risks and the need for structured compliance practices, which is why this belongs directly in your POS setup checklist for new restaurants.
Payments configuration: make the POS setup checklist for new restaurants “tap-ready” and tip-smart
Payments are the final step in hospitality, and they’re where guests remember friction. A POS setup checklist for new restaurants should ensure you accept the payment types guests expect: chip (EMV), tap/contactless, and mobile wallets.
Contactless has become habitual for many diners, and major networks report that contactless represents a large share of in-person transactions.
Set up tips intentionally. Decide whether tips are suggested amounts or percentages, whether guests can tip on takeout, and whether bar tabs prompt tips at close. Align tip reporting with payroll workflows. Define policies for refunds after tip adjustment and for chargeback responses.
Also decide where payments happen: at the counter, at the table, at the bar, or through pay-by-link for catering. Tableside payments reduce walk time and can help close checks faster, but they require durable handhelds and stable Wi-Fi. If you expect high patio volume, test coverage outside.
Future-proofing matters too. Industry commentary pushes merchants to prepare for tap-to-pay expectations, including software-based acceptance models in some environments.
Reduce fraud and confusion: receipts, prompts, and “contactless confidence”
A practical restaurant POS setup checklist treats payment prompts as part of guest experience and risk control. Configure receipts and digital receipts to show clear business name, location identifier, and itemization.
Use consistent wording for service charges vs tips. If you use “suggested tip” screens, ensure they reflect your concept and avoid surprises that cause complaints.
Also train staff to support contactless safely: show the guest the total before tap, confirm the receipt choice, and know how to switch to chip if a tap fails.
Consumer protection stories increasingly discuss tap-related scams and confusion in crowded environments, which makes clear “tap etiquette” and visible confirmation screens important in restaurants too.
The payoff is smoother closes, fewer disputes, and better reviews. Payments are not just processing—they’re trust. Your POS setup checklist for new restaurants should treat payment flow as a designed experience, not a default setting.
Menu build and modifiers: the heart of a restaurant POS setup checklist that actually works
If your menu build is sloppy, everything downstream breaks: ticket routing, inventory, reporting, and training. A POS setup checklist for new restaurants must include a structured menu-building process that mirrors how you cook and how guests order.
Start with categories that match staff thinking: appetizers, mains, sides, kids, desserts, drinks, beer/wine/spirits. Then build items with the right price, tax category, and kitchen routing. Next, create modifier groups that are limited, logical, and kitchen-friendly. The goal is speed and accuracy, not endless options.
Use three modifier types:
- Required modifiers (cook temp, side choice)
- Optional modifiers (add bacon, extra sauce)
- Instruction modifiers (no onions, allergy notes)
Keep modifier buttons short and consistent. Avoid free-text unless necessary, because free-text creates variability and mistakes. If you offer combos or prix fixe menus, build them in a way that doesn’t require staff to “hack” the POS during service.
Also assign SKUs or internal IDs if you plan to integrate inventory or accounting. This becomes crucial when you add online ordering, because menu sync depends on consistent mapping. Many POS setup resources emphasize menu configuration as a core step and warn against rushing it.
Make your menu future-ready for online ordering, kiosks, and QR code flows
Your restaurant POS setup checklist should anticipate that your menu will appear in multiple places: in-store terminals, handhelds, kiosks, QR menus, your website ordering page, and delivery marketplaces. Each channel has different constraints—especially kiosks and QR, where too many modifiers can overwhelm guests.
Design with “channel clarity.” Use short names, structured modifier logic, and upsell prompts that are helpful rather than annoying. POS trend discussions for 2025 highlight growth in self-service kiosks and tableside ordering, which means menu structure must be understandable to guests without staff guidance.
Also plan for dynamic pricing and limited-time items. Even if you don’t use them now, your POS should support quick menu updates, time-based menus (happy hour), and channel-specific availability.
This is one of the easiest “future predictions” to make: the restaurants that win will be able to change menus fast across all channels without breaking reporting or kitchen flow. Build that capability into your POS setup checklist for new restaurants from the beginning.
Integrations and ordering channels: connect the POS setup checklist to revenue growth
A modern POS setup checklist for new restaurants includes more than POS and payments. It includes your full ordering ecosystem: online ordering, delivery integrations, reservations/waitlist, loyalty, accounting, payroll, inventory, and marketing tools.
The key is to integrate intentionally. Too many restaurants bolt on apps and end up with duplicated menus, mismatched prices, and messy reporting. Instead, define your “source of truth.” In most cases, the POS should be the source of truth for menu, pricing, taxes, and item availability—then other channels mirror it.
If delivery is a major revenue line, prioritize integrations that offer menu sync and direct order injection (so staff don’t retype orders). Vendor checklists often call out delivery integration features like automatic menu sync and unified reporting because they reduce errors and labor.
Also validate order throttling and prep times. If your kitchen can handle 20 orders per 15 minutes, your system should help you enforce that across channels. This is where POS + KDS + online ordering alignment matters.
Hospitality technology coverage points to POS data being used more heavily for analytics and automation, which makes integration quality a long-term advantage—not just a convenience.
Test every integration with “real” orders before launch, including refunds and edge cases
A strong restaurant POS setup checklist includes a pre-launch integration test plan. Don’t just test a single order. Test:
- An online order with modifiers
- A delivery order routed to the right prep station
- A split-tender payment
- A refund after tip adjustment
- A comp applied by a manager
- An order fired, held, then released
- A canceled order with inventory impact (if enabled)
Do these tests during a simulated rush when multiple devices are active. Integrations often behave well in isolation but fail under concurrency or bad Wi-Fi. Restaurant install guides stress preparing for install day and validating systems end-to-end, which is exactly what this test plan accomplishes.
This testing also sets you up for future channel expansion. As kiosk and tableside ordering adoption grows, you’ll already have a disciplined process for adding touchpoints without breaking the core system.
Staff, roles, and permissions: a people-first POS setup checklist for new restaurants
The best menu build is useless if your staff can’t use it confidently. Your POS setup checklist for new restaurants should include structured staff setup: roles, permissions, onboarding steps, and accountability.
Create role-based access. Common roles include cashier, server, bartender, shift lead, manager, and admin. Each role should have only what it needs.
For example, servers may need split checks and discount buttons, but not void authorization. Shift leads may open tabs and comp limited items, but not edit menus. Admin access should be extremely limited.
Set up employee profiles with PINs or logins, and require clock-in/clock-out behavior if your POS supports time tracking. Configure cash drawer responsibility. Decide whether drawers are assigned to individuals or to stations. Tight drawer control reduces disputes and makes end-of-day reconciliation faster.
Also configure training mode or sandbox mode if available. Staff learn faster when they can “break” a fake system without consequences. Most importantly, build cheat sheets aligned with your screen layout: top sellers, modifier rules, and common fixes (paper jam, offline behavior, reprint receipt).
This is also where you set the tone for data quality. If staff ring items correctly, your reports become actionable. If they ring “open food” all day, you lose visibility.
Design training around muscle memory: fewer buttons, consistent patterns, and rush simulations
A practical restaurant POS setup checklist treats training as a build step, not a postscript. Teach staff the “why” behind screens: fewer taps means faster lines; consistent modifier use means fewer remakes; correct payment flow means fewer disputes.
Run role-based drills:
- Cashiers practice speed entry and payment handling
- Servers practice split checks, seat numbers, coursing
- Bartenders practice tabs, closes, tip adjustments
- Managers practice void approvals, comps, refunds, reporting
Then run a rush simulation: multiple orders, changes mid-stream, guest complaints, refunds, and a device failure. Your goal is not perfection; it’s confidence. POS install resources often emphasize avoiding downtime and being prepared with maintenance and backups—training should include those “what if” moments too.
As restaurants adopt more self-service and automation, staff training will shift toward hospitality and exception handling rather than simple order entry. That’s a future-facing reason to keep your POS screens simple and consistent: the POS should fade into the background while staff focuses on guest experience.
Reporting, reconciliation, and operational controls: turn the restaurant POS setup checklist into a management system
A POS setup checklist for new restaurants isn’t complete until reporting matches how you manage. Many owners discover too late that their POS reports don’t match deposits, that tips aren’t categorized properly, or that discounts and comps can’t be audited.
Start by defining your daily close process. Decide what reports must be reviewed every day: sales summary, payment type breakdown, tip summary, tax summary, void/comp log, and cash drawer reconciliation. Then decide who owns each step: shift lead prints reports, manager reviews exceptions, owner reviews weekly trends.
Configure your chart-of-accounts mapping if you integrate accounting. If not, at least standardize categories so you can export clean data later. Also standardize discount reasons (promo, staff meal, guest recovery) so comps are measurable and coachable.
Operational controls matter too. Set approval rules: manager PIN required for voids, large discounts, refunds, and open price entries. These controls protect margins and reduce internal shrink. Hospitality technology commentary points out that operators increasingly use POS data for analytics and business decisions, which makes clean reporting a competitive advantage.
Build a “first 30 days” review cadence to optimize menu, labor, and throughput
The first month is where a restaurant POS setup checklist becomes continuous improvement. Set a review cadence:
- Daily: refunds, voids, comps, cash over/short, payment failures
- Weekly: top sellers, item profitability proxies, modifier frequency, ticket times (if tracked)
- Monthly: labor vs sales, channel mix (dine-in vs pickup vs delivery), repeat guest metrics (if enabled)
Use this data to refine screens. Move top sellers to prime positions. Simplify modifier groups that cause errors. Adjust prep station routing if bottlenecks appear. These changes compound quickly because they reduce friction at scale.
Trend reporting for 2025 suggests more restaurants will lean into automation and analytics as a driver for POS upgrades, so building a cadence early positions you to adopt advanced tools later without drowning in messy data.
Launch plan and ongoing maintenance: the final POS setup checklist for new restaurants
A smooth go-live is rarely about the install day. It’s about preparation, testing, training, and a realistic launch strategy. Your POS setup checklist for new restaurants should include a phased launch plan and a maintenance plan.
First, do a soft launch. Run at limited hours or on a limited menu. Invite friends and family. Stress tests the system without full public pressure. Document issues and fix them quickly: missing modifiers, wrong routing, confusing buttons, tip prompt problems, receipt printer settings, or Wi-Fi dead zones.
Second, establish support escalation. Know who to call for POS software issues, payment processing issues, hardware failures, and internet outages. Keep account numbers and escalation contacts accessible to managers.
Create a downtime procedure: offline mode steps, manual card imprint fallback (if applicable), and how to record orders when the network is down.
Third, schedule maintenance. Update devices regularly during off-hours. Replace printer paper proactively. Clean terminals and readers. Rotate spare hardware and keep it charged. Restaurant setup guides commonly recommend maintenance and backup hardware to avoid disruption.
Finally, future-proof your setup. POS trends point toward more contactless options, self-service ordering, deeper integrations, and AI-driven tools. Plan your infrastructure so you can add those later without redoing the foundation.
Future predictions: what to design for now so you aren’t rebuilding in 18 months
A forward-looking restaurant POS setup checklist in 2026 should anticipate these shifts:
- Contactless-first expectations: Guests increasingly assume tap works everywhere, and industry messaging encourages merchants to be ready for tap-to-pay as a default behavior.
- More self-service: Kiosks and tableside ordering continue gaining traction, especially for speed and labor efficiency.
- Unified commerce: Ordering channels consolidate, and operators expect one dashboard for in-store, pickup, and delivery performance.
- Automation and AI: POS vendors are emphasizing automation and data-driven insights—forecasting, anomaly detection, and menu optimization.
- Security discipline: Modern compliance expectations continue pushing structured controls and documentation, especially as integrations multiply.
If you design your foundation—network segmentation, clean menu mapping, disciplined permissions, and robust integrations—you can adopt these trends as upgrades rather than emergency migrations.
FAQs
Q.1: What is the fastest way to complete a POS setup checklist for new restaurants without missing critical steps?
Answer: The fastest way is to sequence your POS setup checklist for new restaurants correctly: workflows first, then hardware/network, then menu build, then payments, then integrations, then training and testing.
Restaurants lose time when they start with the menu build before deciding routing and service flow, because they rebuild categories and modifiers after the kitchen complains. They lose more time when they install hardware before confirming Wi-Fi coverage and network segmentation, because devices disconnect, tickets lag, and payments fail during rushes.
Speed comes from parallel work. While the vendor configures your back-end account and merchant services, you can finalize your station plan, list your roles/permissions, and prepare a training schedule.
While hardware ships, you can build your menu spreadsheet with categories, modifiers, taxes, and routing notes so it imports cleanly. While the menu is being loaded, you can draft your daily close process and manager approval rules. This approach matches the intent behind many install checklists: preparation reduces install-day surprises and downtime.
Finally, do not skip end-to-end testing. A fast setup that skips real order testing is not fast—it just moves the time cost into your first weekend, when mistakes are most expensive.
Q.2: Do I need a KDS, or are kitchen printers enough for a new restaurant?
Answer: It depends on volume, complexity, and staff experience, but your restaurant POS setup checklist should evaluate this deliberately. Kitchen printers can work well for simple menus and smaller kitchens.
They’re inexpensive, familiar, and require minimal training. The downside is paper management: tickets get lost, stations miss modifications, and there’s limited visibility into timing. If you expect high order volume, lots of modifiers, or multiple ordering channels, paper can become your bottleneck.
A KDS adds visibility and control. With a well-integrated KDS, tickets appear instantly, timers help pacing, and stations can prioritize and bump items systematically. KDS integration guidance emphasizes speed-of-service and reduced waste when kitchen teams have real-time visibility and structured workflows.
For many new restaurants, the best path is phased: start with printers if the budget is tight, but choose a POS that supports KDS later without a system change. That “upgrade path” belongs in a POS setup checklist for new restaurants because it reduces future migration risk.
Q.3: How do I make sure my restaurant POS setup checklist supports contactless payments and guest expectations?
Answer: Start by confirming your payment acceptance methods: chip, tap/contactless, and mobile wallets. Then design the payment flow so guests see totals clearly and staff can guide the process smoothly. Network-level reliability matters too, because contactless payments can feel “instant” when your network is stable and painfully slow when it isn’t.
Guest expectations around contactless are strong. Major network commentary notes how contactless usage has become habitual for many consumers, and industry-facing messaging encourages merchants to prepare for tap-to-pay as a standard capability.
Your restaurant POS setup checklist should also include policies and training: always show the guest the total before tap, confirm receipt options, and know how to switch to chip if a tap fails.
Clear prompts reduce disputes and confusion. This is increasingly relevant as media stories discuss misuse and scams in crowded tap scenarios, making “visible confirmation” and good staff habits more important.
Q.4: What reports should I set up on day one to avoid cash and deposit headaches?
Answer: On day one, your POS setup checklist for new restaurants should require a daily packet of reports that reconcile money and highlight exceptions.
At minimum: sales summary by revenue center, tax summary, payment type breakdown (card, cash, gift, other), tip summary, cash drawer report, and an audit report for voids, comps, and refunds. These reports let you answer the core questions: “Did we collect what we sold?” and “Where did margin leak?”
Also define deposit workflows. If you use a safe, assign responsibilities and require counts at shift changes. If you pool tips, ensure the POS is configured to match your tip distribution method. If you use service charges, ensure they’re categorized and reported distinctly from tips to avoid payroll confusion.
Hospitality technology reporting emphasizes the growing importance of POS data for decision-making and analytics, but that only works if your foundation reports are accurate.
Finally, build a habit of reviewing exceptions daily. Most operational problems—misuse of discounts, incorrect refunds, repeated open-price entries—show up as patterns before they become crises.
Q.5: How often should I update my POS system and devices after launch?
Answer: Your restaurant POS setup checklist should include an update policy: routine updates during low-volume hours, with a quick validation test afterward (test an order, test a payment, test kitchen routing). For cloud systems, updates may be frequent; for hybrid/on-prem, they may be scheduled. The point is consistency and control.
Updates matter for reliability and security. Industry resources on payment security standards emphasize ongoing controls rather than one-time setup. As compliance expectations evolve—especially with PCI DSS 4.0 becoming the prevailing standard after transition periods—keeping systems updated and maintaining disciplined access becomes increasingly important.
Practically, most restaurants do best with monthly review windows for firmware and OS updates and immediate patching for critical security issues. Combine that with hardware maintenance: replace printer rollers as needed, clean readers, and rotate backup devices so they’re charged and ready. This reduces “surprise downtime,” which is the enemy of hospitality.
Conclusion
A POS setup checklist for new restaurants is not paperwork—it’s the difference between a controlled launch and a chaotic opening month.
When you treat the POS as your operating system, you build a foundation that supports speed, accuracy, and guest confidence: stable hardware, reliable network, clean menu structure, thoughtful payments, tight permissions, tested integrations, and a training plan built around real rush conditions.
The restaurants that win in 2026 and beyond will be the ones that can adapt quickly: update menus across channels, add kiosks or tableside ordering when labor demands it, accept the payment methods guests expect, and use data to improve throughput and margins.
Industry coverage of POS trends points toward more automation, deeper analytics, and expanding ordering touchpoints, while payment and security standards continue pushing disciplined practices.