By cloudrestaurantmanager September 27, 2025
Restaurant software refers to the technology solutions that help eateries manage their operations – from processing orders and payments to tracking inventory and customers.
Setting up a restaurant software system is essential for any business today, whether you run a quick-service deli, a fine-dining steakhouse, a mobile food truck, or a multi-location franchise. These systems centralize tasks like order entry, sales reporting, and staff scheduling, improving efficiency and accuracy.
For example, a modern POS (Point of Sale) system not only rings up sales but also integrates with inventory and loyalty programs. Likewise, online ordering platforms and kitchen display systems (KDS) streamline digital orders and kitchen workflows.
This guide will walk you through the key modules of restaurant software – including POS, inventory management, online ordering, and KDS – and show step-by-step how to plan and launch your system. Whether your first time is in fine dining or fast food, understanding these components will help ensure a smooth setup and a well-equipped operation.
Understanding Core Restaurant Software Modules
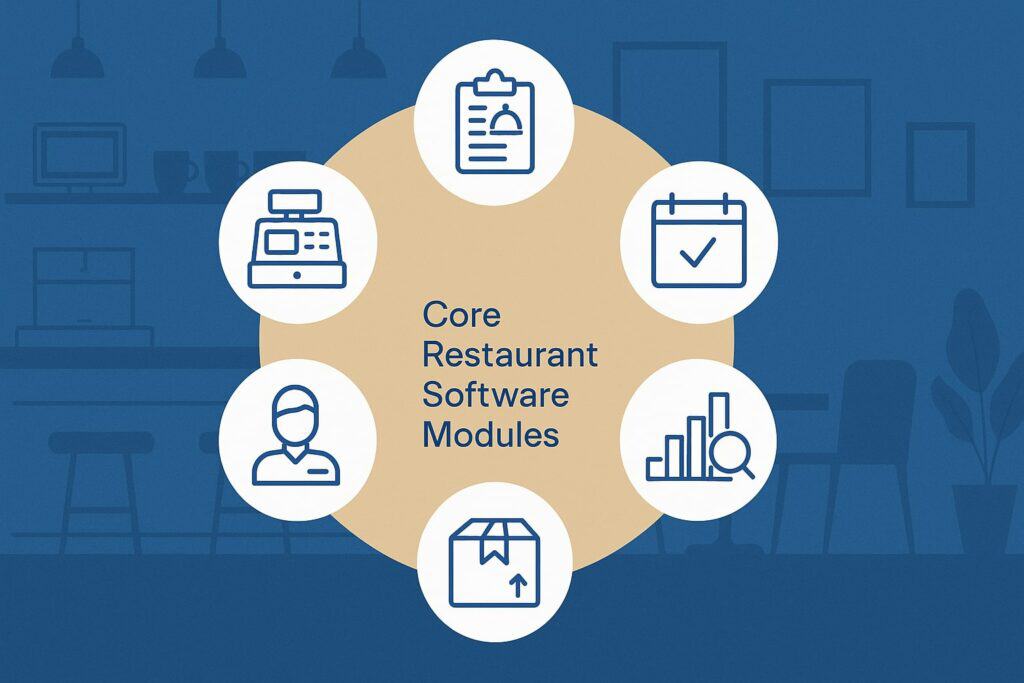
Modern restaurant software is typically modular, letting you install only the features you need. Core components include:
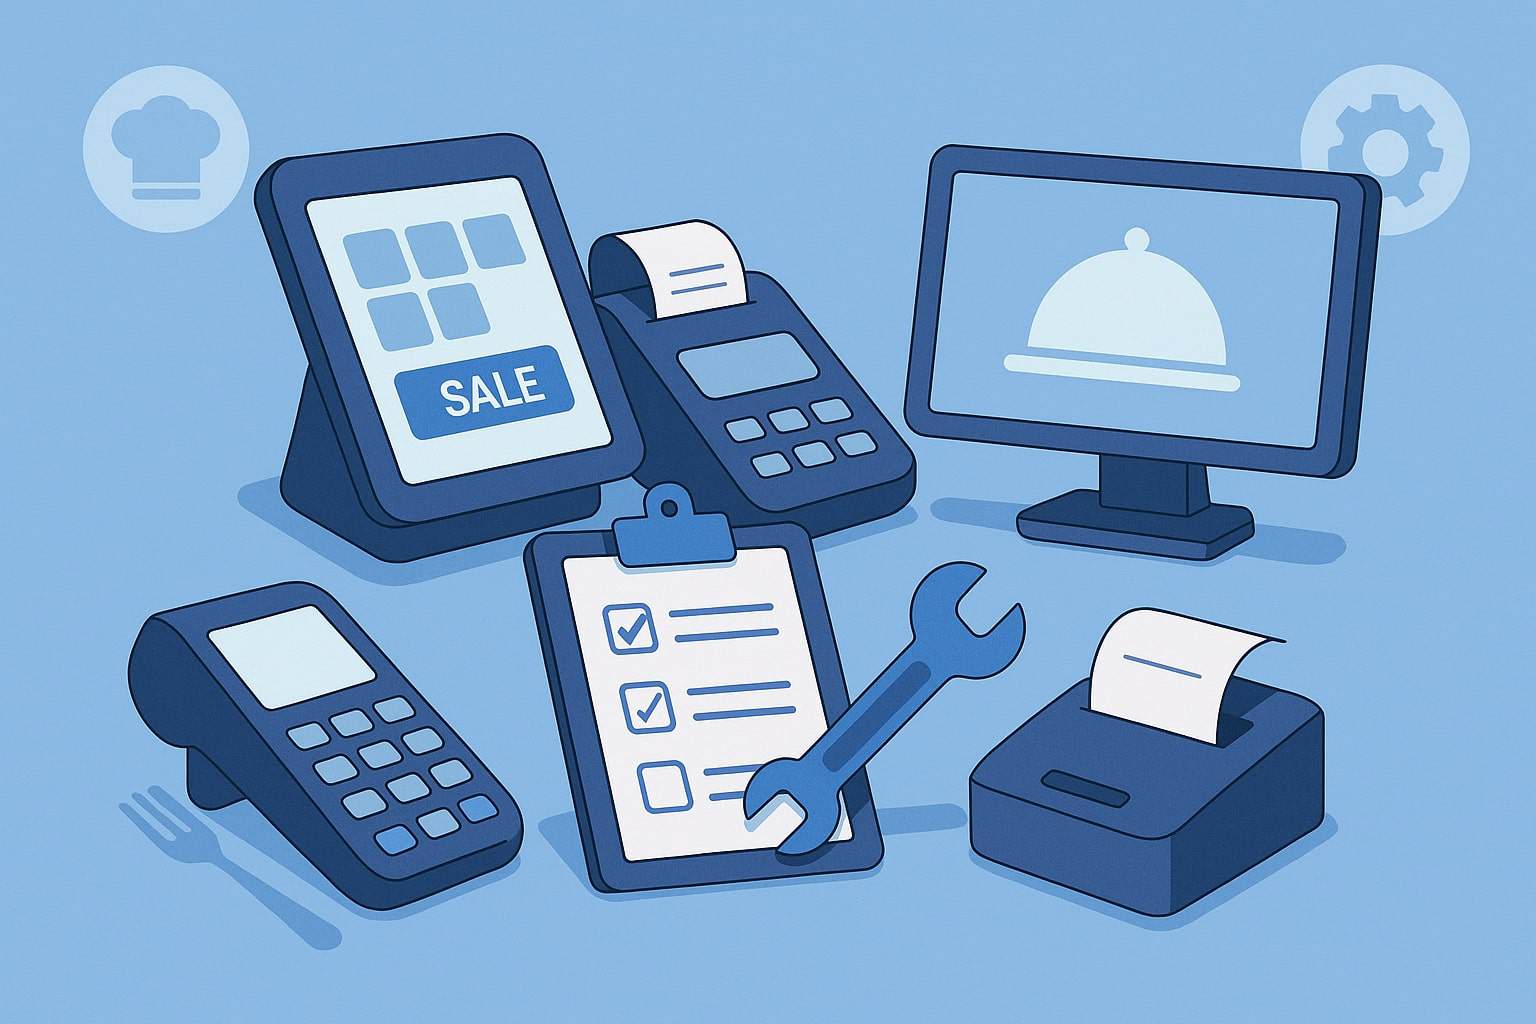
- Point of Sale (POS) System: The POS is the heart of the system where orders and payments are processed. It includes hardware (terminals, tablets, card readers) and software.
A full-service restaurant POS often supports tableside ordering, split bills, and tipping, while a quick-service POS emphasizes speed and high-volume ordering. Whichever system you choose, it should handle transactions efficiently and integrate with other tools.
A good POS will allow you to define user roles (admin, manager, cashier) and permissions so only authorized staff can access sensitive functions.
Example: A server using a tablet-based POS to take orders tableside. Many modern POS solutions are tablet- or cloud-based, meaning setup simply involves launching an app or logging in via a web browser.
For example, a cloud POS requires no local installation – you can just open the software on a connected tablet or computer and enter your business details (store name, address, tax settings, etc.).
After login, you’ll configure the system by setting up your restaurant’s profile and preferences. With these steps done, you’re ready to add products or menu items and assign user accounts. - Inventory Management Module: Inventory software keeps track of ingredients, supplies, and goods. Proper inventory tracking is crucial to control food costs and prevent waste.
The first step is to choose the right inventory tool based on your restaurant’s complexity. For a small cafe, this could be as simple as spreadsheets; larger restaurants often use specialized software.
Create templates or digital inventory sheets listing each item along with units, costs, and categories. Organize your stock in labeled areas (e.g. perishables, dry storage) to simplify counts.
Assign responsibility by training staff and designating someone to do inventory counts. Most systems let you set “par levels” so that when a product falls below its threshold, the software flags it for reordering.
Example: Uploading menu items or inventory via a POS interface (pictured). Many restaurant POS systems integrate directly with inventory. You can enter your menu or stock items manually or upload them in bulk (often via a CSV file).
As items are sold, the software updates stock levels in real time. This synchronization means that sales data from the POS automatically decrements inventory counts, helping you spot shortages before they hit customers.
Strong inventory tracking also helps maintain consistency across locations: cloud-based systems let you update menus and pricing centrally for all sites. - Online Ordering and Delivery: Customers increasingly expect to order online for pickup or delivery. An online ordering system typically lets you build a web or mobile menu and links incoming orders to your POS and kitchen.
To set this up, start by creating an online ordering menu in your software. You may choose which dine-in items are offered for takeout (for example, you might hide alcohol items if you only serve them in person).
Enter each item with descriptions, prices, and any modifiers (such as toppings). Next, configure your takeout/delivery settings: set minimum order values, pickup time windows, curbside pickup options, and any fees. Many systems guide you step-by-step through these choices.
Once your online menu is configured, link it to the POS so that orders flow seamlessly to staff. This often involves adding the restaurant’s online ordering “channel” in the POS and testing that an online order creates a ticket. You can choose to have orders printed in the kitchen, send a ticket to the host stand, or display on a KDS screen (see below).
It’s also common to integrate with third-party delivery platforms: popular POS solutions either have built-in integrations or you can use an aggregator service (like Chowly or Otter) to funnel DoorDash, Uber Eats, Grubhub and similar orders into one place.
Additionally, linking your Google Business Profile to your ordering system (via “Order with Google”) can capture customers browsing online. Finally, promote your new online ordering link on social media so customers can easily find and use it.
By combining your POS with online ordering, your staff can manage all orders from one interface, speeding up service and reducing mistakes. - Kitchen Display System (KDS): A KDS replaces printed tickets with digital screens in the kitchen. Orders taken at the POS automatically appear on the kitchen display, organized by station (e.g. grill, fryer, expeditor).
KDS units improve speed and accuracy: they show every item, modifier, and special request clearly on the screen, and can emit alerts or timers for urgent tasks. To set up a KDS, you’ll install the KDS application on a dedicated screen or tablet and connect it to your POS account.
Then route orders to the appropriate KDS stations. For example, you might have a “Grill” screen and a “Fry” screen. Each incoming online or in-store order will then light up on the screen for the chefs to prepare.
You can customize KDS settings (like ticket layout, color-coding for late orders, language, and step-by-step tasks) to fit your kitchen’s workflow. In a busy quick-serve or drive-thru setting, a KDS is invaluable for keeping orders moving swiftly; many fast-casual chains rely on expo screens to assemble orders efficiently.
Even small restaurants benefit: the screens eliminate paper jams and ensure everyone sees orders in real time, improving communication between front and back of house. - Table & Reservation Management: Full-service and fine-dining restaurants often include a table management or reservation module. This module helps hosts assign guests to tables, manage walk-ins, and track upcoming reservations.
A reservation system can sync with your POS so that servers and managers see who’s coming and when. It often features online booking (letting guests book via your website or Google), automated confirmation/reminder emails, and waitlist management.
By integrating reservations with the POS, you avoid double-booking tables and can even note special guest preferences (e.g. high chair needed, dietary restrictions) that serve staff can view on their devices. Overall, a table management tool optimizes seating and reduces no-shows, making dining service smoother. - Loyalty, Marketing & Back-Office: Many restaurant software suites include built-in loyalty programs, gift card support, and basic CRM features. These allow you to track frequent customers and send targeted promotions (e.g. “10% off next visit”).
Marketing tools like email or SMS campaigns can integrate with your customer database. Additionally, back-office modules for accounting, payroll, and scheduling are often part of a comprehensive system.
For example, restaurant accounting software automates bookkeeping and P&L reports, while labor modules handle employee shifts and timecards.
While these features may not be needed on day one, it’s good to be aware that your chosen system might offer them or integrate with third-party solutions, further streamlining your operations.
Choosing the Right Setup and Hardware
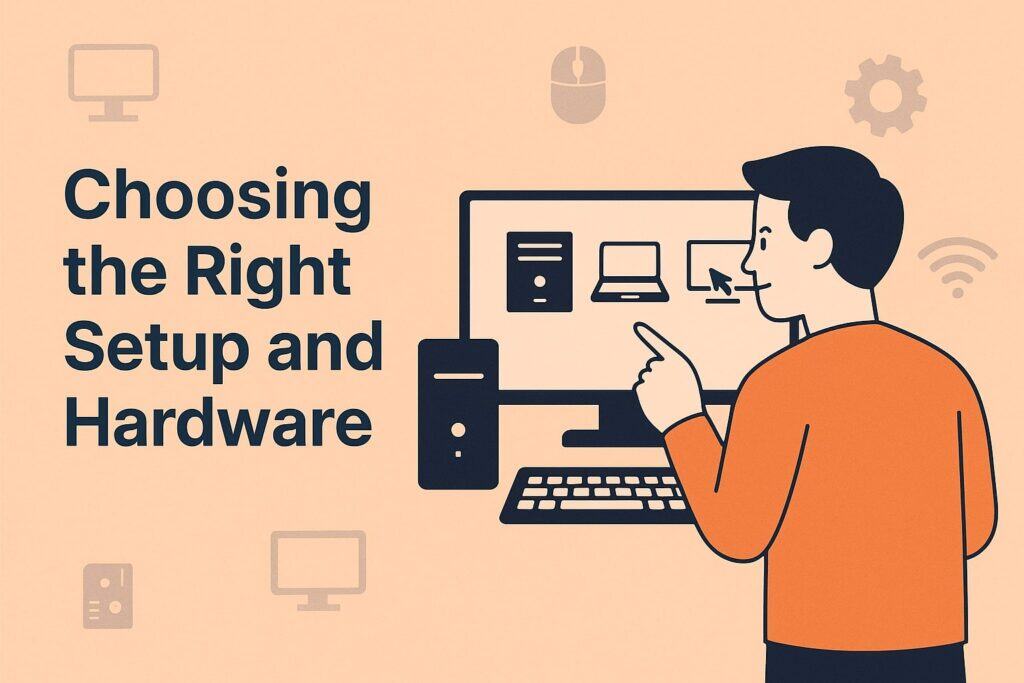
Before diving into installation, plan your system layout and equipment needs. Ask yourself:
- What devices will we use? Will you run the POS on iPads, tablets, or dedicated terminals? How many checkout stations do you need? For a food truck or kiosk, a single tablet may suffice; a busy multi-counter restaurant might need several stations and handheld devices.
- What peripherals do we require? Common hardware includes receipt printers, cash drawers, card/payment terminals, barcode scanners, and kitchen printers or displays. If you have a large menu, a barcode scanner can speed inventory counts. Ensure any new hardware is compatible with your software.
- Network and backup: If you choose a cloud-based POS (highly recommended), you’ll need reliable WiFi or internet for everyday use. (Most cloud POS systems also offer offline modes to keep running during outages.) Plan for UPS or backup power for critical components to avoid data loss.
Next, select your software provider wisely. Research restaurant software vendors and compare their features, pricing, and support. Don’t just go for the cheapest option – consider compatibility and scalability.
For example, if you already have a payment processor or accounting package, make sure they integrate smoothly with the POS. Likewise, if you plan to grow to multiple locations, choose a cloud-based system that can handle multi-site management.
Many cloud POS platforms automatically sync data across locations, letting you update menus or promotions in one place for all outlets.
Finally, decide who will handle the setup. Smaller setups can often be done in-house by following guides or with vendor support. Many POS providers offer free onboarding calls or step-by-step tutorials.
If your operation is more complex, consider hiring a certified installer or using the vendor’s professional services. They can configure hardware, migrate data (like your existing product list), and train staff on-site. For most first-time users, vendor support or professional onboarding accelerates the process and avoids technical pitfalls.
Step-by-Step Software Installation
Once you have your system and hardware ready, proceed with these general setup steps:
- Launch the Software and Log In: Install the POS app on your devices or open the web-based system on your computer/tablet. Create an account or enter your account credentials.
You will be prompted to enter basic business information (name, address, tax rates, number of locations, etc.). This ensures the system is branded and configured for your restaurant. - Add Products/Menu Items: Enter all your menu items or inventory into the system. For a small menu, you can type items manually. For larger operations, it’s faster to import via CSV.
Most systems accept a spreadsheet with fields for item name, price, SKU/code, category, and modifiers. For example, Lightspeed Retail allows thousands of products to be uploaded at once from a CSV file.
Be sure to include all variants (sizes, flavors, etc.) and assign them to the correct categories (appetizers, entrees, drinks, etc.). This becomes the basis for orders, reports, and inventory tracking. - Set Up User Accounts and Permissions: Define who will use the system. Create profiles for managers, servers, cashiers, bartenders, kitchen staff, etc. Assign permission levels so each role can only access what they need.
For instance, a cashier may only need access to the order and payment screen, while a manager may also see sales reports and inventory levels. Grant full admin rights only to trusted staff.
This improves security and keeps sensitive data (like financials) restricted. Many systems let you easily enable/disable users and change permissions, so keep your user list up to date. - Install and Configure Hardware: Connect your devices to peripherals:
- Payment terminals/card readers: Turn on each device, connect it to WiFi or Bluetooth, and pair it with the POS. The typical steps are to power the terminal, connect it to your network, and then add it in the POS settings.
- Receipt printers and cash drawers: Attach printers to your tablets/computers via USB or network, and link cash drawers (usually via printer signals). Test by running a sample transaction to ensure printing and cash-pulls work.
- Kitchen printers or KDS screens: If you use paper tickets, install a printer in the kitchen. If using a KDS, launch the KDS app on the kitchen display device and sign in with your restaurant account. Assign each kitchen device to a station so tickets route correctly.
- Payment terminals/card readers: Turn on each device, connect it to WiFi or Bluetooth, and pair it with the POS. The typical steps are to power the terminal, connect it to your network, and then add it in the POS settings.
- Configure Payments: In your POS, enter your payment processor details. If your POS has built-in payments (like Lightspeed Payments), enable it to link sales seamlessly. Otherwise, add your merchant account settings.
Define which payment types to accept (Visa/Mastercard, cash, gift cards, contactless). Most systems automatically support credit/debit cards and common mobile wallets (Apple Pay, Google Pay). Ensure taxes are set up correctly so they apply to sales. - Integrate Other Systems: Connect your POS to any other software you use. This may include:
- Accounting software: Sync daily sales and tax data with QuickBooks, Xero, etc. This automates your books.
- Online ordering platform: Link the POS to your website’s ordering module or third-party ordering service so orders feed into the system.
- Loyalty/CRM tools: If using a separate loyalty program, integrate it so customer points and profiles sync with the POS.
- Email/SMS marketing: Connect email tools to automatically send receipts and promotions to guests.
This “all-in-one” integration means the POS becomes your operational hub, reducing duplicate data entry.
- Accounting software: Sync daily sales and tax data with QuickBooks, Xero, etc. This automates your books.
- Test the System: Before opening, run trial transactions. Create test orders with various payment methods to ensure the hardware, receipts, and reports all work. Simulate real scenarios: split a bill, run a discount, do a return, process an online order.
Check inventory is decrementing correctly. Walk through the full customer journey from order to checkout. Fix any issues (printer errors, incorrect menu prices, etc.) that arise. - Train Your Staff: Once the system is functioning, hold training sessions with your team. Use the vendor’s training materials or schedule a demo run-through. Have each staff member practice taking an order, sending it to the kitchen, and closing a ticket.
Train managers on running reports (sales, inventory) and on doing end-of-day reconciliation. Clear communication of new procedures is crucial so that everyone feels comfortable with the change. Many POS providers offer 24/7 support or one-on-one onboarding to assist with this phase. - Go Live and Monitor: When you officially start using the software, monitor operations closely. Review sales reports daily to ensure numbers match cash drawers. Watch inventory reports for any anomalies.
Encourage feedback from staff – they may find tweaks that improve efficiency. If problems crop up (network lag, user errors), contact your vendor’s support line for help.
Features by Restaurant Type
The ideal setup can vary by the type of restaurant:
- Quick-Service (Fast Food/Fast Casual): Here, speed is paramount. A QSR POS emphasizes rapid order entry (often with barcode scanners or quick menus) and usually supports kiosks or self-order stations.
These systems often integrate drive-thru timing tools and handle high order volumes. Online and mobile ordering are crucial in QSRs, so ensure your system can immediately print or display incoming digital orders.
A streamlined interface (with large buttons and shortcuts) helps staff work fast under pressure. Integration with delivery apps and a dedicated expo screen for order assembly is common in busy QSR environments. - Fine-Dining and Full-Service: Table management and guest experience are key. Your POS should support booking reservations and tracking guest preferences.
Systems tailored for fine dining typically include floor-plan views, coursing management, and detailed check-splitting options. Handheld POS devices or tablet ordering at the table can enhance service.
The focus is on hospitality: recording loyalty points, adding notes (like “celebrating anniversary” for a special greeting), and ensuring servers spend more time with guests rather than chasing down orders. - Food Trucks and Mobile Vendors: Portability is the priority. A food truck POS must run on tablets or smartphones and work offline if the internet signal is spotty.
Look for a system explicitly designed for mobile use: it should have compact hardware (small receipt printer, battery-powered devices) and operate without a steady connection.
Offline capability means transactions and inventory tracking continue even if WiFi drops – the data syncs later when reconnected. Also ensure it processes all payment types (chip cards, contactless) on the go.
Mobile POS systems often include simple inventory alerts so you don’t run out of key ingredients mid-day. - Multi-Location Chains: Central control is crucial when you have several outlets. Cloud-based multi-location tech lets you manage menus, pricing, and promotions from a single dashboard.
It also consolidates sales and inventory data into unified reports. For setup, you’ll deploy one system at each site but link them: any menu change or item count adjustment at one location can propagate to all stores if desired.
Loyalty programs should be universal so customers earn rewards at any branch. Support for multiple registers and printers at each location is expected. Finally, ensure the system’s pricing model supports multiple outlets (some vendors charge per location).
Frequently Asked Questions
Q: What exactly is a restaurant POS system and why do I need one?
A: A POS system combines software and hardware to handle sales transactions and manage restaurant operations. In practice, it’s the register and management platform rolled into one.
A typical POS includes devices like tablets, printers, card readers, and software for ringing up orders, tracking inventory, and generating reports. You need one because it automates many manual tasks, reduces errors, and provides data insights.
For example, a POS will automatically update your stock levels when a sale is made and can track sales by hour, employee, or menu item. This helps you make informed decisions and run a tighter ship.
Q: How do I know which POS or restaurant software to choose?
A: Look at your specific needs first. Consider your restaurant type (fast food vs. fine dining) and volume. Key factors include compatibility (with your hardware, card reader, and other software), scalability (ability to add more registers or locations later), and features.
A robust system should integrate seamlessly with your inventory and accounting tools. Don’t just pick the cheapest – a reliable, user-friendly solution may save money in the long run by avoiding downtime or overcomplexity.
It’s wise to trial a few vendors or get demos. Also, check that the provider offers good support and training, since first-time setup can be challenging.
Q: What hardware is required for the setup?
A: At minimum, you’ll need one device to run the POS software (tablet, iPad, or computer), a receipt printer, and a payment terminal/card reader. If you handle cash, you’ll want a cash drawer. For inventory, a barcode scanner helps. In the kitchen, you may install printers or tablets (for KDS).
The exact mix depends on your model: a food truck might get by with just a tablet and portable printer, whereas a multi-counter dine-in may use several iPads and multiple printers. Ensure all devices can connect to your network or Bluetooth and are supported by your POS vendor.
Q: How should I organize inventory with the software?
A: Start by listing every ingredient and supply in your system. Break them into categories (produce, meats, dry goods, beverages, etc.). Enter current stock levels for each item. Use the system to conduct regular counts (daily or weekly, depending on volume) so the software’s data stays accurate.
As ingredients are used in recipes or sold as items, your POS will decrement these levels automatically. Set “par levels” (minimum desired stock) in the system so it alerts you when an item is low.
This way, you only order when needed, reducing waste and saving cost. Many systems also let you barcode-pack items for faster counting and receiving.
Q: What is a Kitchen Display System (KDS) and do I need one?
A: A KDS is essentially a digital ticket printer – it shows orders on a screen in the kitchen instead of printing on paper. If you have a busy kitchen or complex menu, a KDS can greatly help.
When an order is placed, it appears on the KDS with all details (modifiers, timing, station assignments). This speeds up communication and reduces mis-orders. KDSs are common in quick-service and multi-station kitchens.
If your staff currently rely on handwritten tickets or have trouble hearing printer beeps, a KDS is worth considering. To set it up, simply install the KDS software on a monitor or tablet in the kitchen and connect it to your POS.
Q: How do online ordering and third-party delivery integrate with the POS?
A: Most modern POS platforms offer an online ordering channel. This means you can build a customer-facing menu on your website or app, and orders from there will automatically sync with your POS.
For example, once a customer places a takeout order online, the POS can print a ticket or send it to your kitchen. Integrating third-party delivery (Uber Eats, DoorDash, etc.) usually works the same way: either your POS has direct integrations, or you use middleware like Deliverect to funnel all those orders into one unified flow.
To set this up, you’ll need to link your vendor accounts with your POS and verify your menu/items in each platform. Then any incoming delivery order appears just like an in-house order.
Q: What if my internet goes down? Can I still operate?
A: Many restaurant POS systems are cloud-based but built to handle offline situations. If you lose WiFi, the POS will continue accepting orders and card payments (storing them locally). Once connectivity returns, it syncs all the data to the cloud.
To ensure this, enable offline mode in settings and test it before going live. Hardware-wise, choose battery-backed devices or ensure your terminals have a UPS, so a brief power cut doesn’t crash your registers. In short, you shouldn’t have to close down just because of an internet glitch.
Q: Can I use the same system for multiple restaurant locations?
A: Yes. Cloud POS solutions excel at multi-location setups. You simply install the software at each site under the same account. The advantage is a unified management dashboard: you can roll out menu changes, pricing, and promotions across all locations with a few clicks.
Sales and inventory data from each location roll up into consolidated reports, so you get a complete view of the business.
In terms of setup, each store may have its own hardware (registers, printers) but shares one backend system. Make sure your vendor’s pricing plan supports multiple outlets (many charges per location).
Q: How much time does initial setup take?
A: It depends on complexity. A small cafe with one tablet can often finish core setup (software installation, basic menu entry, payment integration) in a day or two. Larger or multi-outlet restaurants may take a week or more, especially if migrating data from an old system.
Plan extra time for staff training and troubleshooting. It’s wise to pilot the system during a slow period (like a soft opening) before full launch. Remember, thorough setup now prevents headaches later.
Q: What resources are available if I get stuck?
A: Use your software provider’s support. Most offer extensive help centers, guides, and customer support. For example, Lightspeed and other vendors provide one-on-one onboarding or a knowledge base.
YouTube and online forums can also be helpful for generic questions (search for “how to set up [YourSoftwareName] POS”). Finally, consider hiring a consultant experienced in that software if you need extra help on-site.
Conclusion
Successfully implementing restaurant software is a transformative step. With the right setup, you’ll streamline order taking, improve accuracy, and gain real-time insights into your business.
Remember to plan carefully: start by choosing software that fits your restaurant model (from food trucks to fine dining) and ensures compatibility with your hardware and integrations.
Follow a systematic setup process—install software, upload menu and inventory, configure users, connect hardware and payments, and integrate online ordering and peripherals. Be sure to test thoroughly and invest time training your team so everyone is comfortable with the new system.
Once live, these systems pay off quickly. For instance, restaurants have reported up to a 30% decrease in order errors and 25% faster service times by moving to cloud POS and KDS solutions.
In a multi-location chain, centralized management tools let owners scale smoothly without losing quality. Ultimately, a well-chosen and well-set-up restaurant software will help any newcomer (or seasoned operator) run a more efficient, data-driven business.
By following this guide – from planning hardware to configuring menus and tapping into analytics – first-time users can confidently set up a modern restaurant software system. The initial effort brings a return in saved time, reduced costs, and happier customers.
As you go forward, stay engaged with your provider’s updates and continually refine your use of the software. With technology as your ally, you’ll create a strong foundation for your restaurant to thrive now and into the future.